
Understanding Drywall Basics
When it comes to home construction and renovation, few materials are as ubiquitous as drywall. Known for its convenience and versatility, drywall serves as a fundamental building block in residential interiors. This article aims to explore the essential aspects of drywall, providing an in-depth understanding for both beginners and seasoned DIY enthusiasts.
The Composition and Types of Drywall
Drywall, also referred to as gypsum board, drywall board, or sheetrock, is primarily made of gypsum plaster sandwiched between two thick sheets of paper. The distinct layers provide structural composition and durability. The types of drywall vary based on their use:
- Regular Drywall: The standard option for most interior walls and ceilings.
- Moisture-Resistant Drywall: Also known as green board, suitable for bathrooms and kitchens.
- Fire-Resistant Drywall: Contains additives that provide fire resistance, typically used in garages or shared walls.
- Soundproof Drywall: Manufactured with enhanced sound-dampening materials, ideal for home theatres and bedrooms.
- Impact-Resistant Drywall: Designed to withstand impacts, frequently used in high-traffic areas.
Common Uses for Drywall in Homes
Drywall is renowned for its versatility, serving various purposes in residential projects:
- Wall Construction: The primary application is for constructing interior walls and partitions.
- C ceilings: Both textured and flat ceilings are created using drywall, offering different aesthetic options.
- Interior Features: Features such as archways, niches, and shelves can be formed using drywall.
- Basement Finishing: Many homeowners use drywall for finishing basements, transforming them into livable spaces.
Benefits of Using Drywall over Alternatives
Choosing drywall over other materials offers several advantages:
- Cost-Effective: Drywall is generally less expensive than alternatives like plaster or wood paneling.
- Ease of Installation: It can be installed quickly and efficiently using basic tools.
- Smooth Finish: Drywall provides a flat surface that can be painted or textured easily.
- Fire Resistance: Certain types of drywall offer additional fire resistance, enhancing safety.
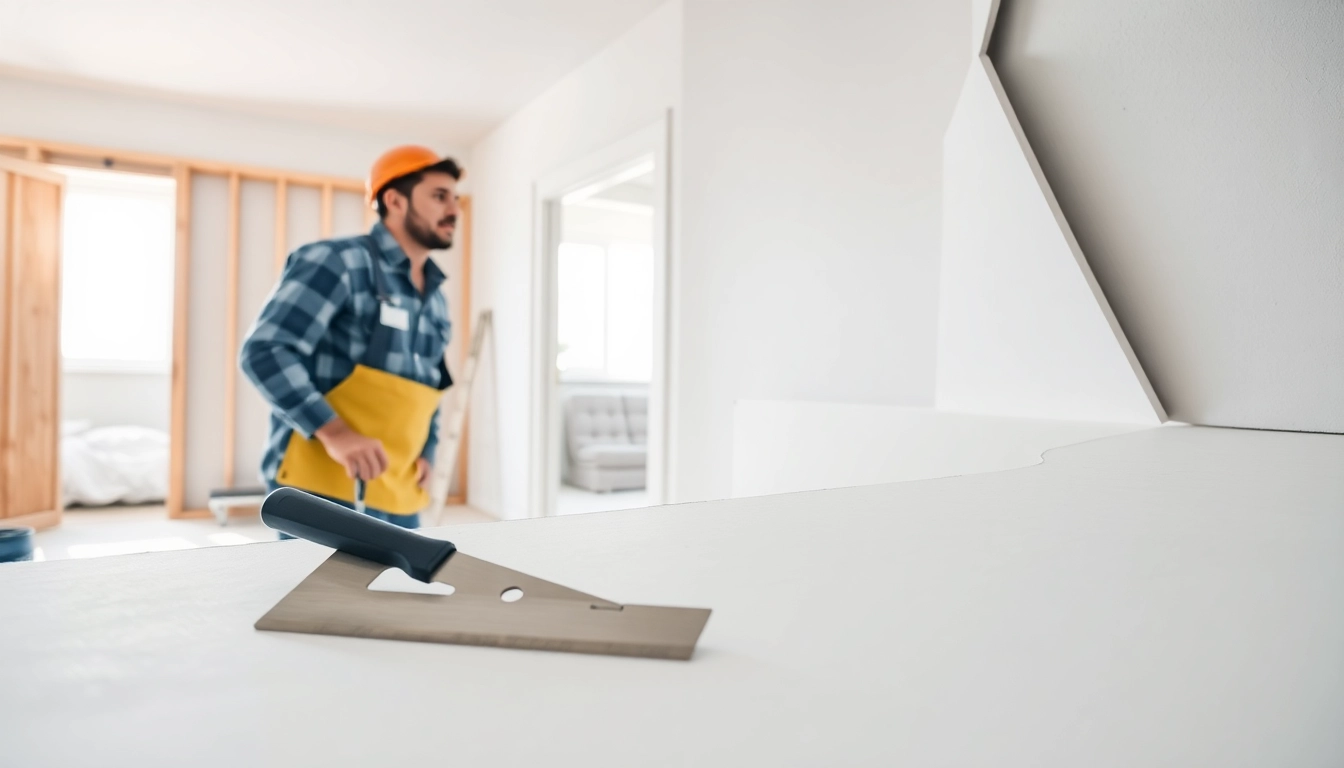
Preparing for Drywall Installation
The success of a drywall project heavily relies on planning and preparation. Properly preparing the installation site and gathering the right tools is crucial for a smooth process.
Essential Tools for Drywall Projects
Before starting the installation process, ensure you have the following tools:
- Drywall Sheets: These come in various sizes, typically 4′ x 8′, or 4′ x 12′.
- Drywall Screws: Designed specifically to hold drywall in place without tearing the paper.
- Utility Knife: For scoring and cutting drywall sheets accurately.
- T Square: Used to ensure straight and accurate cuts.
- Drywall Lift: A helpful tool for lifting and securing drywall sheets on ceilings.
- Sandpaper or Drywall Sander: For smoothing the surface after applying joint compound.
How to Measure and Cut Drywall Accurately
Proper measurement and cutting are key to ensuring your drywall fits the intended space:
- Measure the wall or ceiling height and width carefully.
- Transfer the measurements onto the drywall sheet, making sure to mark the cut line.
- Score the drywall with a utility knife along the marked line.
- Snap the sheet along the scored line to create a clean break.
- Use the utility knife to cut the paper backing to free the cut piece.
Safety Precautions Before Installation
Safety should always come first when working with drywall. Here are some precautions to follow:
- Wear safety glasses and a mask to protect your eyes and lungs from dust.
- Use gloves to prevent cuts from sharp edges.
- Ensure your work area is well-lit to avoid accidents.
- Use a ladder safely, following the manufacturer’s guidelines.
Step-by-Step Drywall Installation Process
The installation of drywall involves several key steps that ensure your walls are solid and aesthetically pleasing. Here’s a breakdown of the process:
Hanging Drywall Techniques Explained
Hanging drywall correctly can influence the overall quality and appearance of your work. Here are techniques you can employ:
- Start by hanging the top sheets first, securing them to the ceiling with screws.
- Work your way down to the bottom sheets, ensuring they fit snugly against each other.
- Always stagger the seams between sheets to enhance stability.
- Leave a small gap at the bottom to allow for flooring expansion.
Tips for Securing Drywall Properly
Securing drywall panels properly prevents issues such as sagging or drooping. Tips include:
- Use screws instead of nails for better holding power.
- Space screws approximately 12 inches apart along the edges and 16 inches in the field.
- Make sure screws are slightly recessed but not torn through the paper layer.
How to Handle Drywall Joints and Seams
Properly finishing joints and seams is critical for a flawless appearance:
- Apply paper or fiberglass tape over the joints.
- Use joint compound to cover the tape, feathering it out on both sides.
- Let it dry completely before sanding smooth.
- Apply additional coats as necessary, sanding between each one.
Finishing Drywall Like a Pro
The finishing phase is where the quality of your drywall work truly shines. It involves applying compound, sanding, and painting to achieve a professional look.
Applying Joint Compound: Techniques and Tips
Applying joint compound is an essential step for achieving smooth walls. Consider these techniques:
- Use a tapered knife for smooth application of joint compound.
- Apply compound generously, ensuring full coverage of joint tape.
- Thin out the compound with water for better consistency.
- When applying multiple coats, aim for a wider spread with each layer.
Sand and Texture: Achieving a Smooth Finish
The sanding process is crucial for proper texturing and finish:
- Use a pole sander or drywall sander for larger areas.
- Start with coarse sandpaper, gradually moving to a finer grade.
- Use a damp sponge to soften the surface and remove dust after sanding.
- For textured finishes, consider spray-on options for a more dynamic look.
Painting Drywall for a Professional Look
Once the drywall is finished, proper painting techniques turn it into a beautiful part of your home:
- Prime the drywall first to avoid paint absorption and provide a more even finish.
- Use a quality paintbrush for edges and a roller for larger areas.
- Apply at least two coats for solid coverage and durability.
Common Drywall Issues and Solutions
Even with careful planning, drywall issues can arise. Identifying and addressing these problems promptly can save time and effort.
Identifying Cracks and Damages in Drywall
Homeowners can encounter several issues, such as cracks or bulging:
- Look for stress cracks, especially around windows and doors.
- Monitor bulging or sagging drywall, which may indicate improper installation or structural issues.
Repairing Holes: DIY Methods That Work
Holes in drywall can occur for various reasons, but they can be repaired easily:
- For small holes, use spackle or a lightweight joint compound directly.
- For larger holes, create a patch from a scrap piece of drywall, securing it with screws.
- Finish with joint compound, sanding until smooth.
Preventing Moisture Issues with Drywall
Moisture can be a significant enemy to drywall. Here are ways to mitigate this:
- Utilize moisture-resistant drywall in areas prone to dampness.
- Ensure proper ventilation in bathrooms and kitchens to reduce humidity.
- Repair leaks immediately to prevent water damage.
Frequently Asked Questions
What is the average cost of drywall installation?
The average cost for drywall installation varies, but typically ranges from $1.50 to $3.00 per square foot, including materials and labor.
Can I install drywall myself?
Yes, many homeowners successfully install drywall themselves with the right tools and instructions. However, it’s important to plan and prepare adequately.
How do I know if my drywall is moisture-damaged?
Signs include discoloration, softness, and a sagging appearance. You might also notice mold growth or a musty smell.
Can drywall be painted directly?
It’s recommended to prime drywall before painting to achieve a smoother and more consistent finish, ensuring better adhesion of the paint.
What tools do I need for drywall repair?
Essential tools for drywall repair include a utility knife, putty knife, sandpaper, joint compound, and a paintbrush or roller for finishing touches.